Build Log – Vintage Series Kyosho Optima
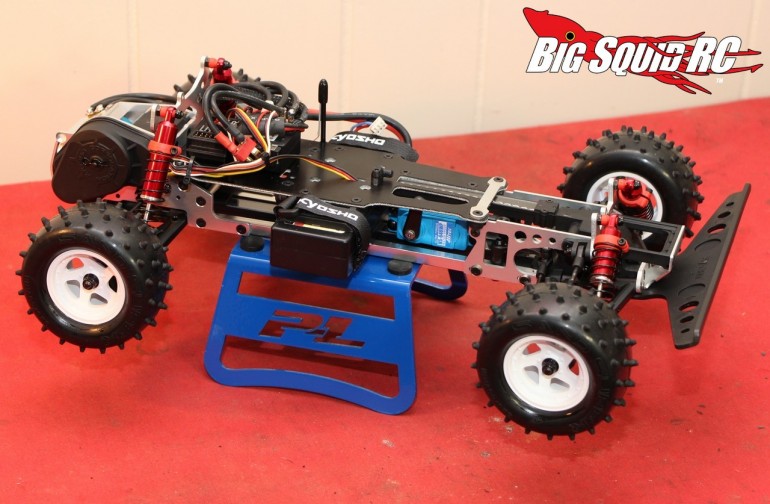
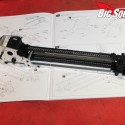
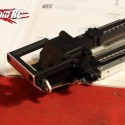
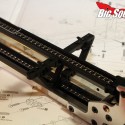
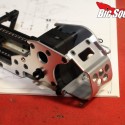
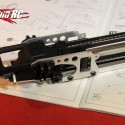
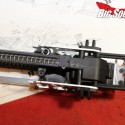
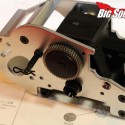
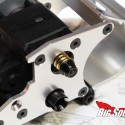
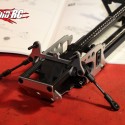
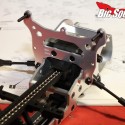
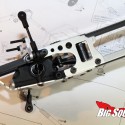
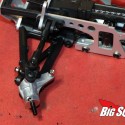
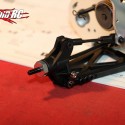
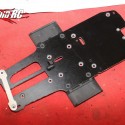
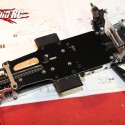
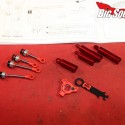
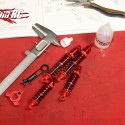
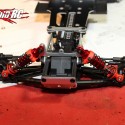
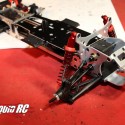
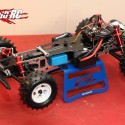
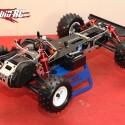
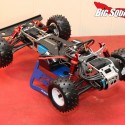
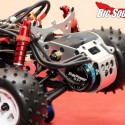
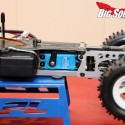
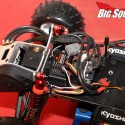
Like many of you, we were awfully excited to crack the box open on the re-release of the Kyosho Optima 4wd Buggy Kit. Below you’ll find a bunch of pictures that we shot throughout the build. These show how the buggy comes along during the build, and if you get stuck while building yours, they might help you see how a certain section looks when properly built. Also, here are a few notes that we jotted down during the build process-
* We didn’t notice any typos or any other issues with the instructions. Just like back in the day, the instructions come in good old paper form. While there is very little text on how to put the buggy together, the exploded views are crisp, clear, and as far as we could tell, error free.
* 30 years ago it was not uncommon to bust out a Dremel to make minor “adjustments” to certain parts for them to fit properly. That certainly was not the case with the Optima. Fit and finish was very well done, all the parts that were supposed to fit together, did so quite well.
* Right off the bat in step 1 you will have to decide if you are going to build the kit with chain or belt drive. We went truly old school and installed the chain. If you are looking for performance and less maintenance, belts are the way to go. Chains like to stretch, requiring periodic tightening and eventually the removal of links to remove slack. However, we just couldn’t resist the sound of chain drive in our Optima.
* You’ll find hex hardware throughout the Optima kit, which is a real blessing compared to old school Phillips heads that were common back in the day.
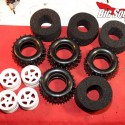
* The wheels are now one-piece units, a nice upgrade over the original kit. They are also directional, so make sure you glue up the tires the right way.
* While we love to complain about new kits coming with e-clips, we couldn’t help but to find them appropriate on the Optima. That said, there really aren’t that many used on the buggy. By the way, you really haven’t experienced an old school buggy until you’ve spent a half hour on the floor chasing after an e-clip that shot out of your pliers at 800 mph.
* We really liked the old school appeal of the Optima. In fact, it really helped us appreciate some of the engineering and parts that come standard on modern cars. For example, the turnbuckles on the Optima are what would have been standard fare back in the day, using the same threading on both ends. This makes adjustments harder and more time consuming, but helps give you a good taste for what rc was like years ago.
Overall- We experienced no issues while building the Optima. The instructions were error free, fit and finish of the parts was well done, and our kit was not missing any parts. If you’ve never built a kit before, the Optima isn’t hard to put together and will teach you pretty much everything you need to know about building a kit in this hobby.
Our full review of the Kyosho Optima goes live later this week, until then you can hit up This Link for full details on the kit over on Kyosho’s website, or you can click Right Here for more Optima news on BigSquidRC.

