Losing grip – Outside my comfort zone, again
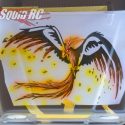
G’day folks! Once again, I’ve strayed outside my comfort zone in regards to painting lexan bodies. My Vanquish Phoenix is getting a new body and I’m painting it using a combination Tamiya rattle cans, my trusted airbrush, and a fine detail brush. I’m not quite done yet, so at this stage you’ll have to make do with some pictures of a work in progress.
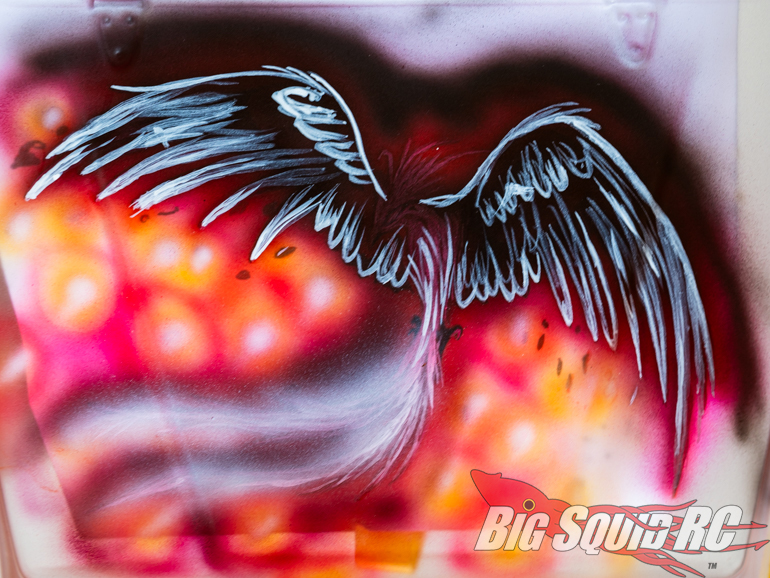
After a lot of deliberating I decided to go for a black car with a phoenix on the hood and a phoenix feather on the side, all painted free hand. No masking (except windows), no stickers. A high risk, high yield kind of project. But what’s the fun in sticking to a proven and comfortable formula? Yes, I know there’s a lot of arguments in doing just that, but as a writer in this business I feel obliged to try out new stuff. Also, for me a way to keep the hobby in general and painting in particular interesting.
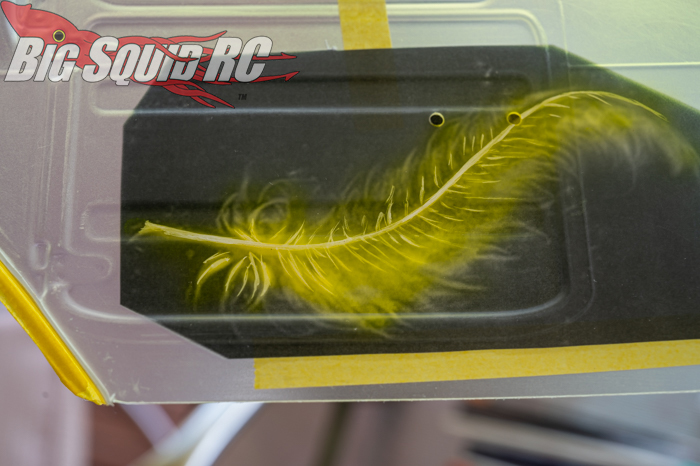
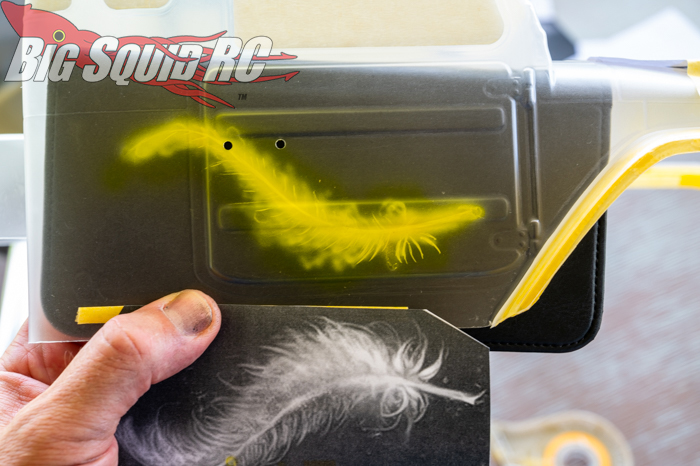
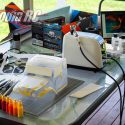
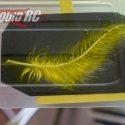
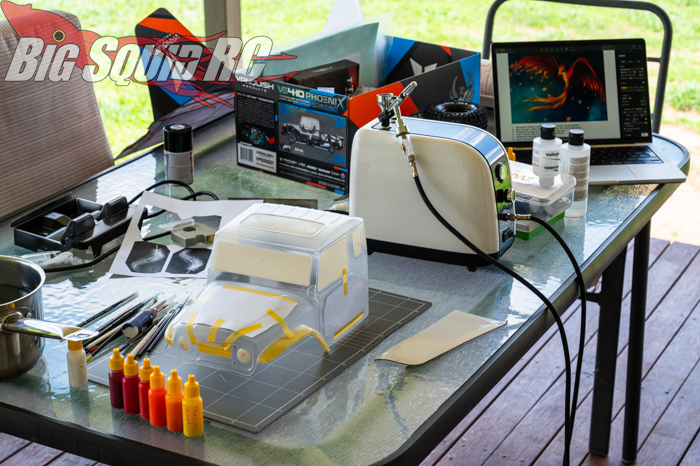
The biggest challenge was the reverse painting order when painting from the inside – there’s no easy way to correct mistakes. Also, I had to start with the highlights and then gradually move to darker hues, which is pretty much the opposite of what I do when I paint miniatures and wargames terrain. I’m not going to take you through every single step of the process, but the pictures following should give you an idea. You’ll also see my painting area, the back porch of the house I’m currently stationed at for work. Inland Queensland, 95-100 degrees. Gotta work with what you’ve got. Paints dried in an instant. You can see how I’ve got my laptop in the background, with the motive for reference and a basic written plan of what I was going to do – I had a good think before I started
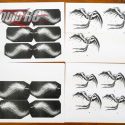
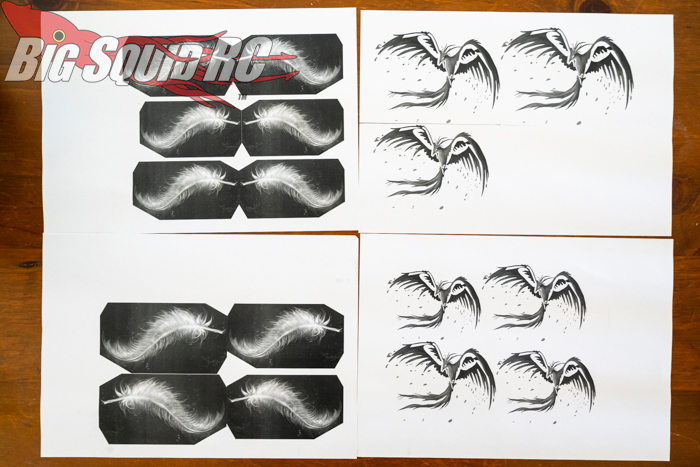
I started by reworking the designs in photoshop, turning them black and white and emphasising contrast and some of the shapes I wanted to lay down, before I printed them in several sizes and tried them by simply holding them on the inside of the body. Having found the right size and placement, I then taped them on the outside and started laying down colors. Actually, I started out with a layer of Tamiya flat clear on the inside, to give a good foundation for the airbrush colors to attach to. Even though I use airbrush colors formulated for polycarbonate, I have found that some of them scratch very easily and I hoped this would alleviate that a bit.
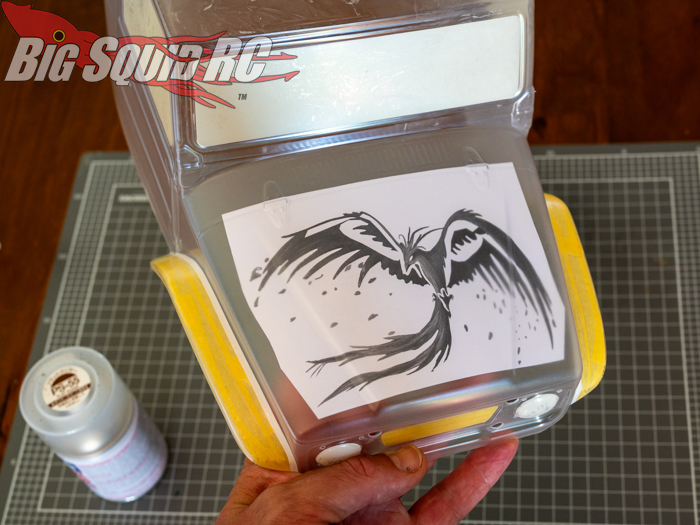
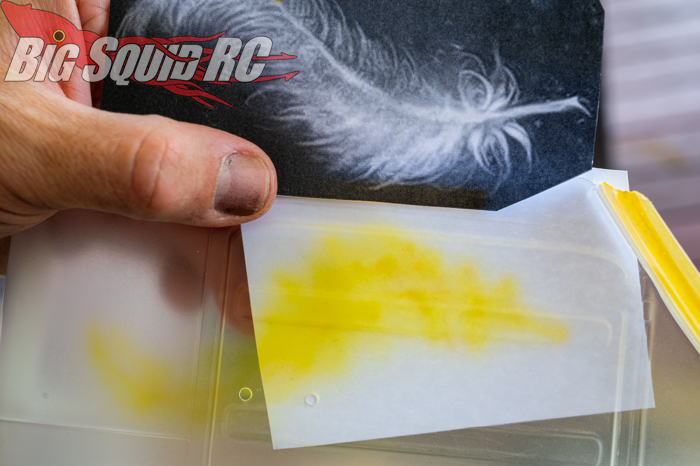
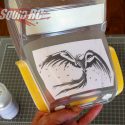
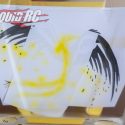
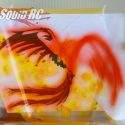
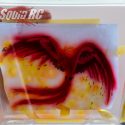
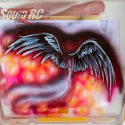
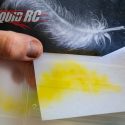
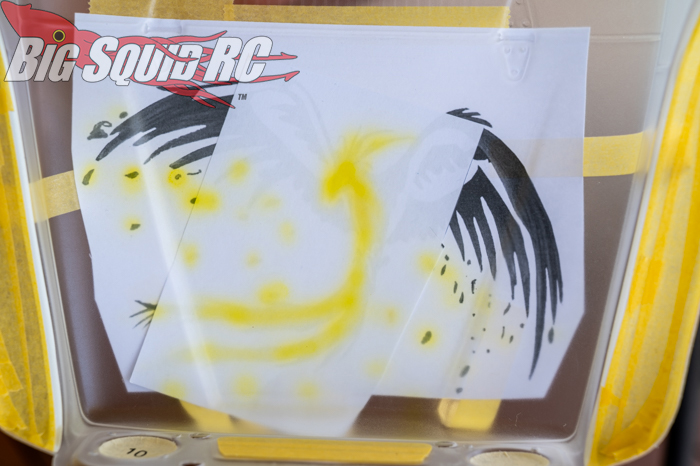
The idea was to work with transparent colors and gradually build the motive, locking in the colors in stages with a brush and white paint. Below you can see the very first layer of paint, and how I have slid a white paper in between the hood and the motive to give me a better idea of coverage. Having sprayed on the yellow, I painted thin lines in white using a brush, before I moved on to orange, then thin lines with a brush and so on, gradually moving towards darker hues. If it doesn’t make sense, I hope the pictures will give you an idea of the process.
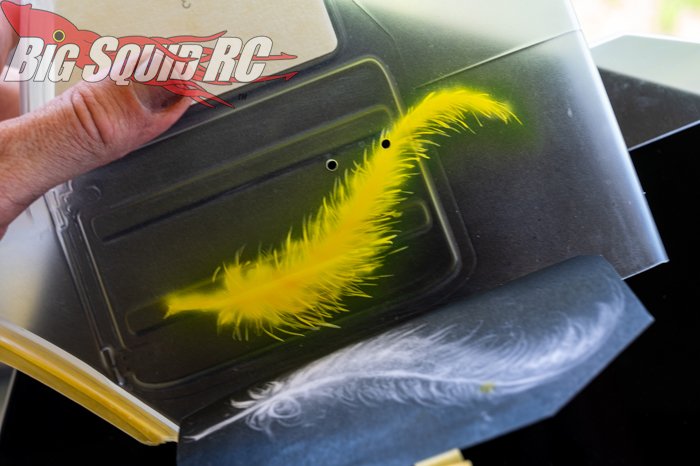
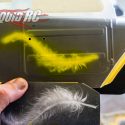
As you can see below, I have laid down an orange coat, and then locked some of it in with white using a detail brush before I move on to the next shade. I used both transparent and opaque white with the brush, to further vary the shades.
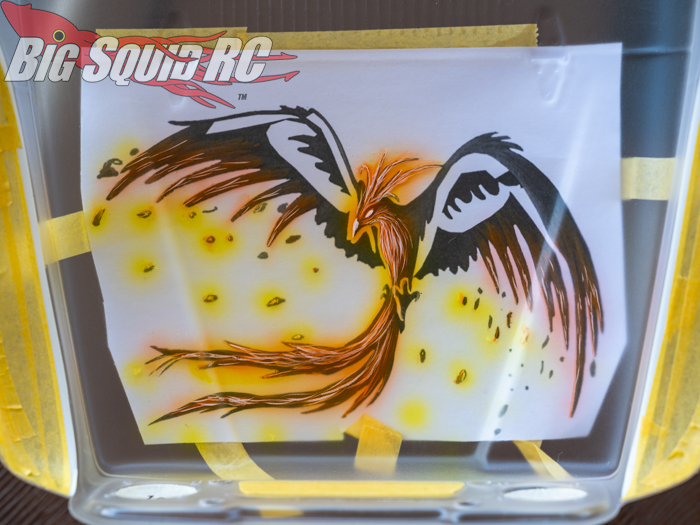
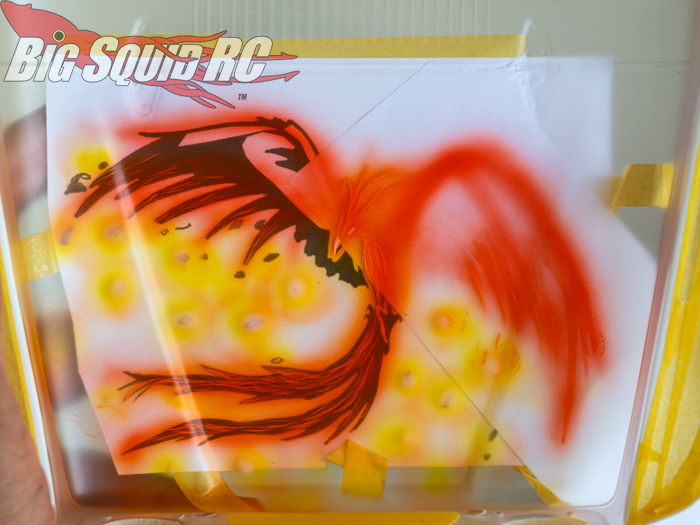
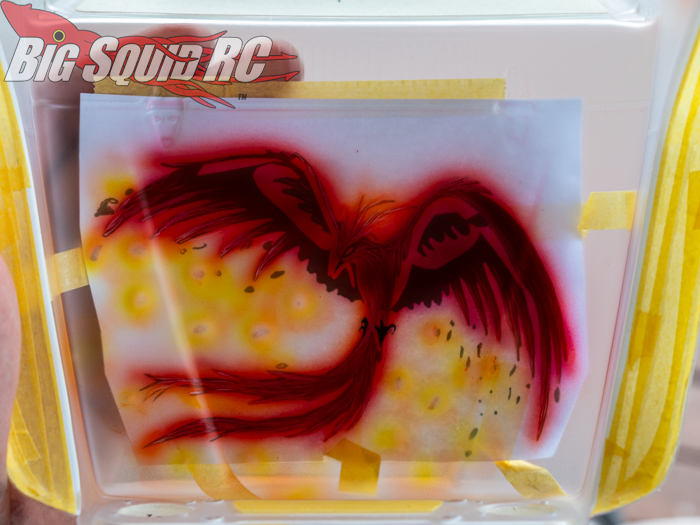
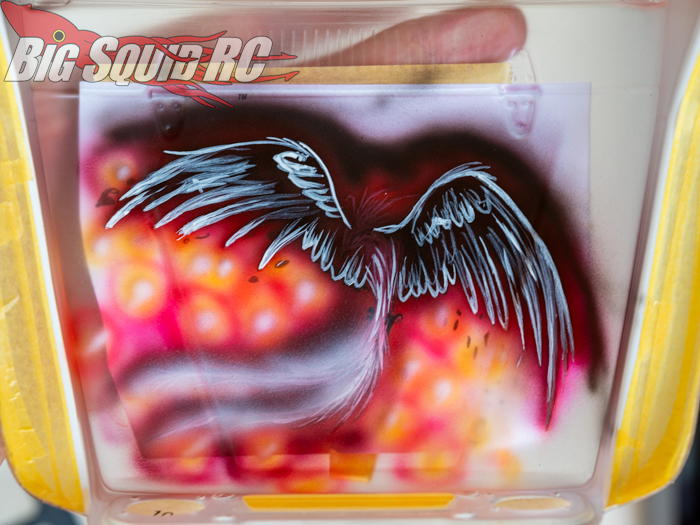
Every now and then between coats I took a look on the outside to check progress, but since I was going to back it all in black this just gave me a basic idea. I wouldn’t know how much the black would tone down the colors until it all was finished. Very difficult to judge, since I haven’t done anything like it before. Putting a black paper (or my mobile phone) behind helped some, but not fully.
The painting part of the body is actually finished now, but I haven’t removed the protective film so I can’t really tell how it turned out. Not least because I sprayed the fenders black from the outside, so now the whole body is pretty dark and dirty looking. And that’s where I’ll leave you today. It’s time to get the body mounted on its cage, remove the window masks and then reveal what’s hiding underneath that plastic film. Watch this space in a week and you’ll see how I did.
To read another column, hit the link!
