Losing grip – VS4-10 interior painting
One thing that didn’t make the move to Australia was my compressor, so a couple of days ago I bought myself new one. Airflow isn’t quite as high as I would like, but it got the job done when I painted the interior of my VS4-10. Gotta do something while I wait for some bits and bobs for my RDS drifter, right?
Anyway, for those of you who still haven’t gotten into airbrushing, I highly recommend it. It’s a lot of fun, very rewarding, and adds a lot of versatility to the painting process.
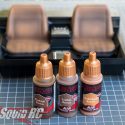
Shopping list for an interior like this: two rattle cans (Tamiya PS5 black and PS55 flat clear) and three acrylics – there’s lots to choose from. I usually go with Vallejo, but decided to try Army Painter’s triad system for this one. It’s very convenient, offering three matching shades.
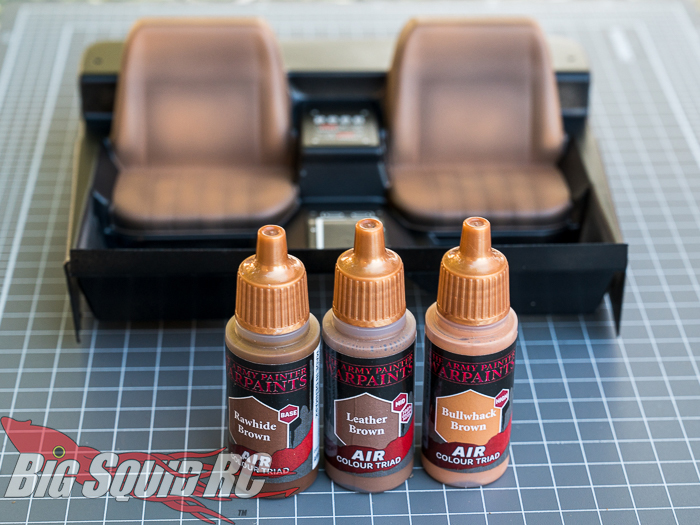
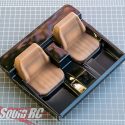
First step is to spray the back of the interior in black, then do a cut through the protective film around the seats, peel it off and spray the seats with flat clear varnish. This gives the acrylics a good base to adhere to. After the varnish, a several thin coat of dark brown, not worrying to much to get an even coverage.
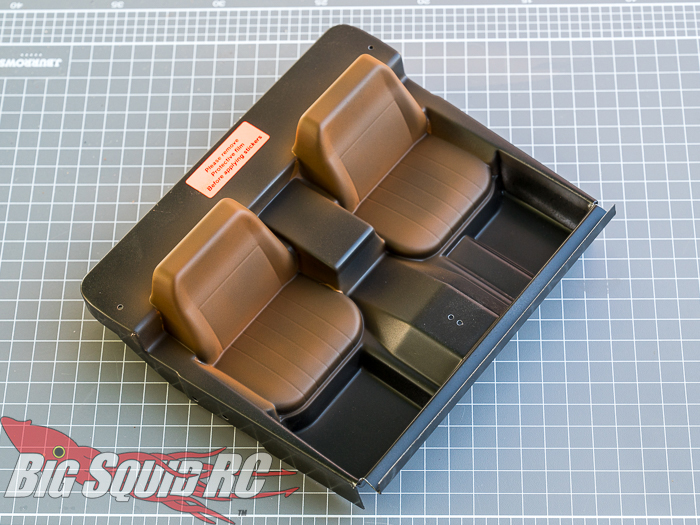
Next up, medium brown, but staying away from the recesses to emphasise the shape of the seats.
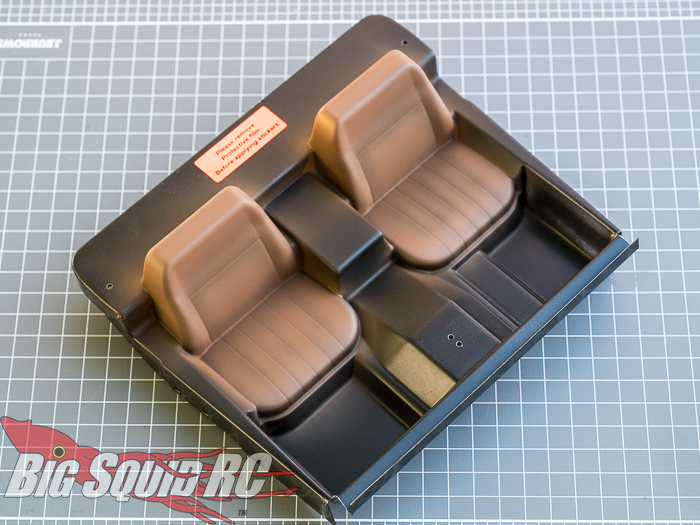
And finally, a couple of passes with a light brown, this time focusing on the raised areas. Both simulating a bit of wear, and again to add some more depth. I could have been neater, but good enough methinks.
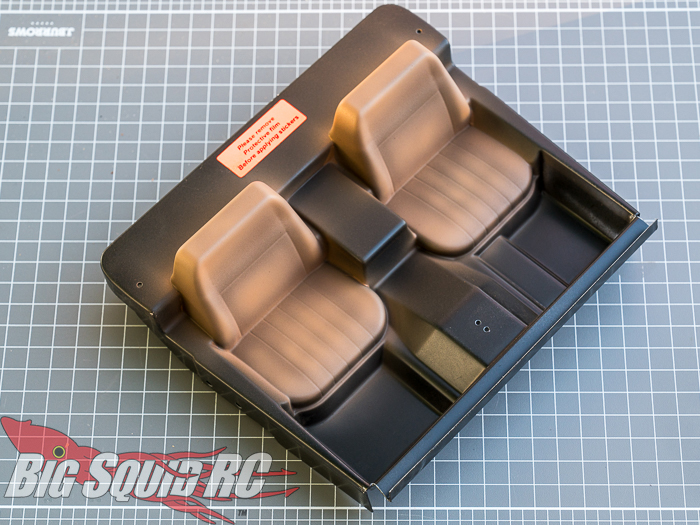
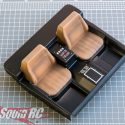
Next up, remove the protective film, except for at the bottom, where the feet go. With the protective film gone, I then added stickers, since I wanted them go get have the same surface finish as the rest of the interior.
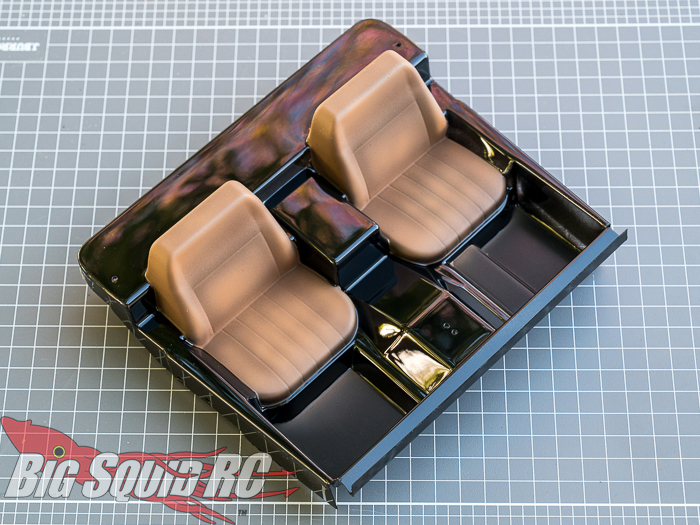
With stickers added, I sprayed all of it with Tamiya PS55 flat clear, for a nice, matte finish. Note how well the stickers blend in after the varnish is applied.
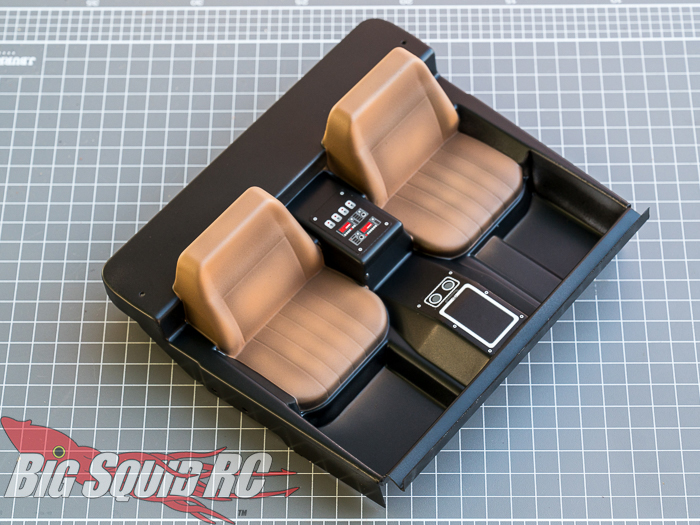
Last step, removing the protective film at the bottom, again adding some more depth to the interior. Done! Surprisingly quick and way better looking than just a flat brown on the seats.
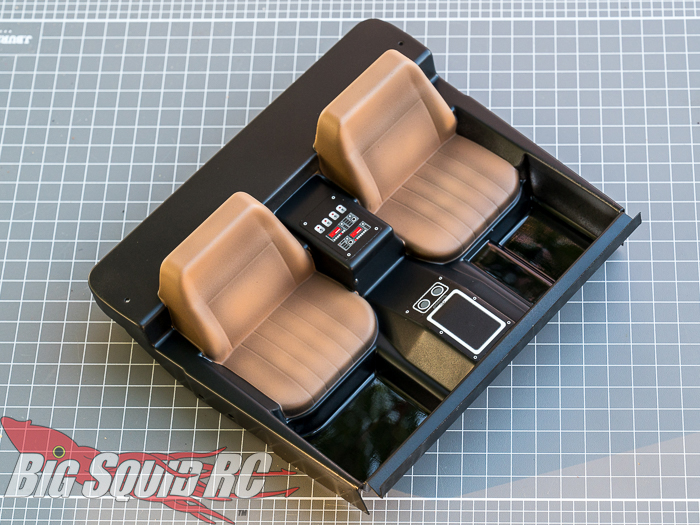
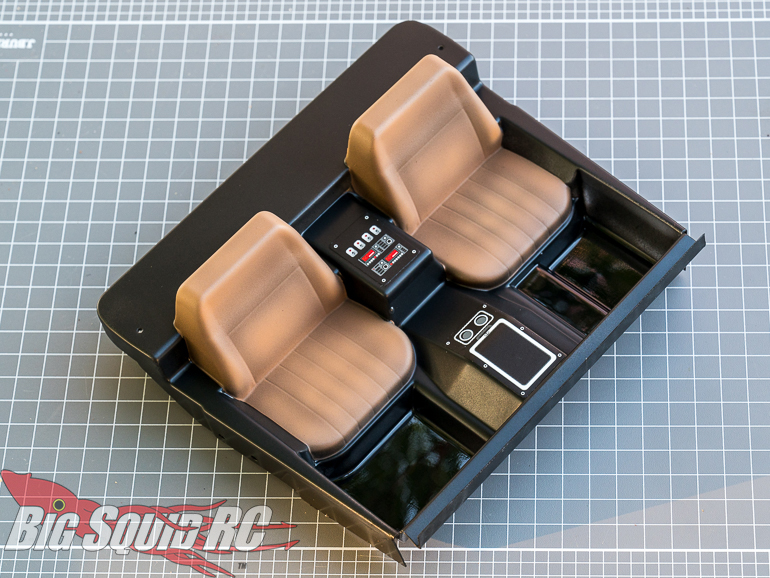
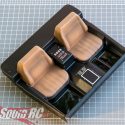
And finally, with the dash and details added. The dash was just a matter of painting the inside black, removing the protective film, adding stickers, and then spraying it all flat clear. Shading the seats really gives them a lot more volume, nice!
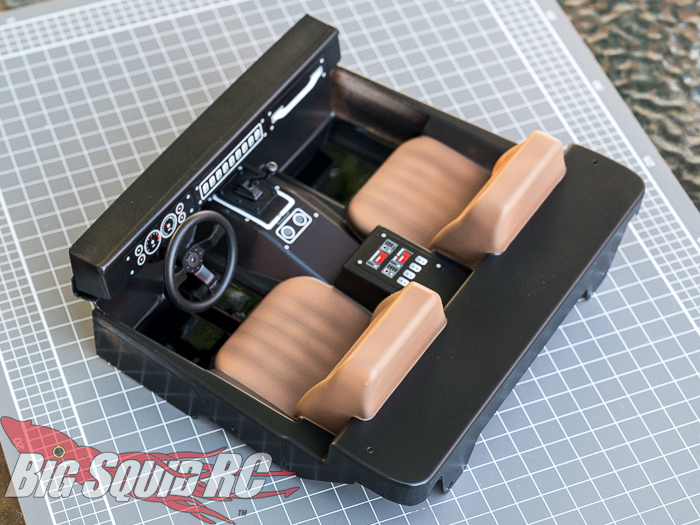
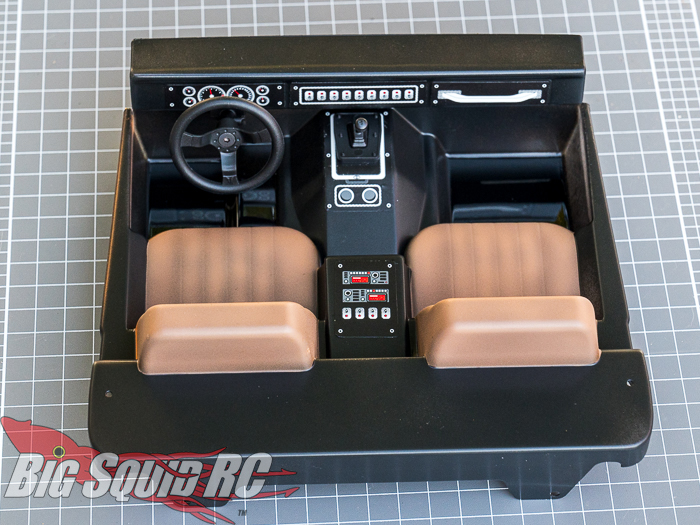
The best bit will of course seeing it all come together. Spoiler alert!
To read another column – maybe for some more painting tips? – hit the link!

