Losing grip – Weathering the SCX24
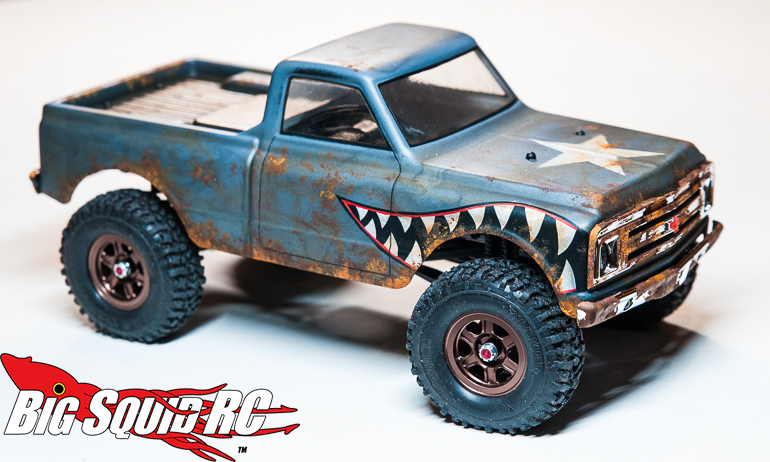
G’day mates! Another week of losing grip is here, and my SCX24 has aged twenty years since last week. As you might remember, it was first repainted by Bob’s grandson Rob in a shark scheme commemorating the Curtis P40 Warhawk that Bob once flew. Initially lovingly taken care of, it was then forgotten and found recently, in a somewhat derelict condition. The present owner, that’s Rob’s son Homer, has had time to change wheels and tires, but not much more. After all, changing wheels and tires is a quick fix, refurbishing a body is not.
Without further ado, here goes:
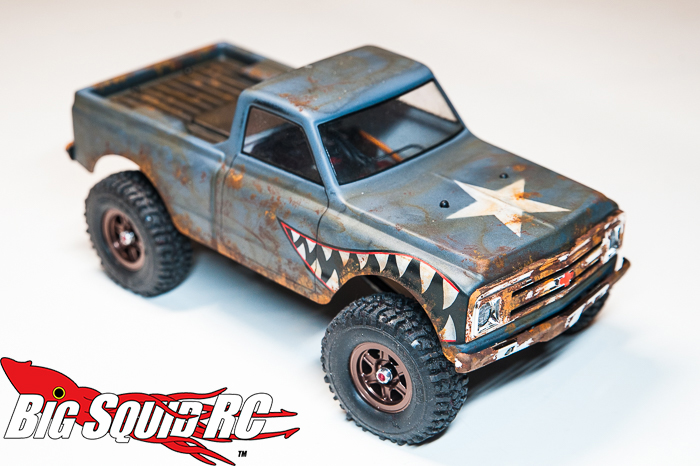
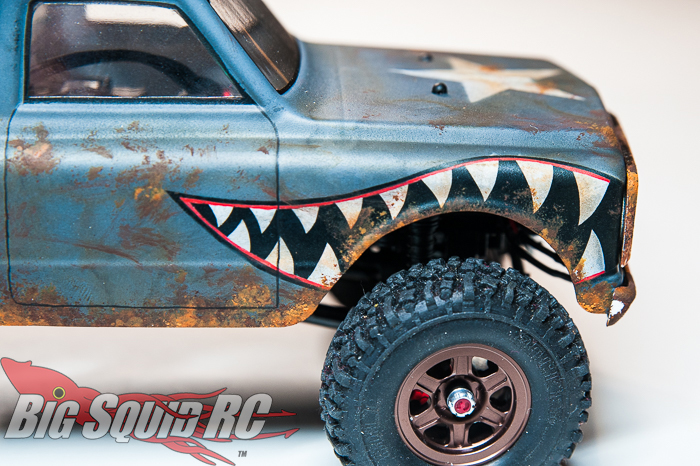
Wheels and wheel hubs by SSD RC, tires by Pitbull RC (soon to be released), weathering by yours truly. Considering it’s the first time I do this, I am pretty happy with the result. I have always loved the shark’s mouth motif of WWII fighter planes, and the star on the bonnet complements it nicely, methink. It’s certainly rather different compared to the original: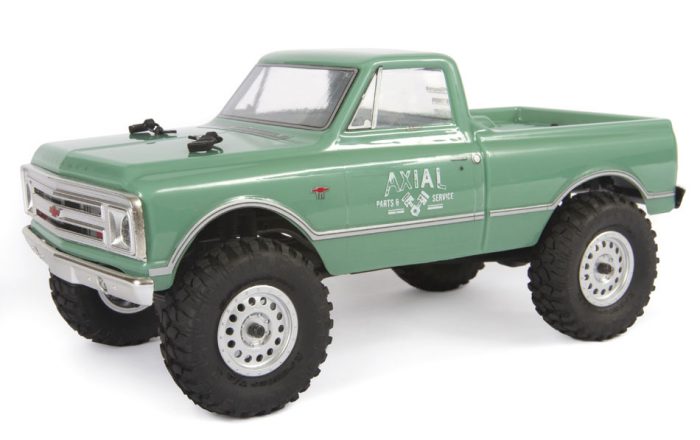
And looking a lot older than a week ago:
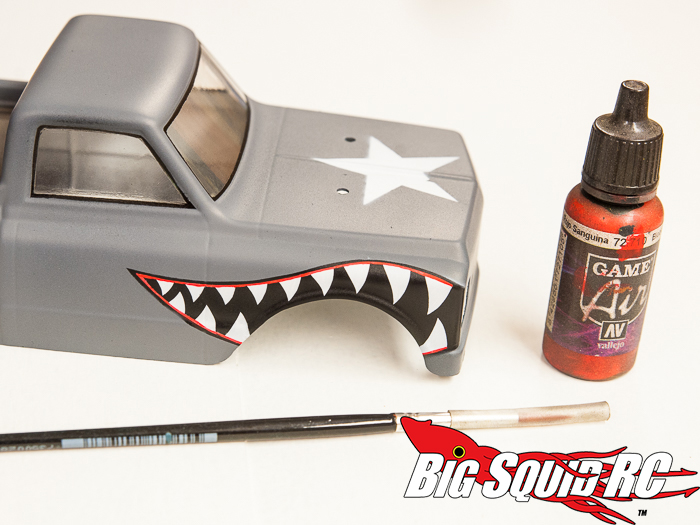
The weathering was done using Vallejo acrylics and a sponge, also some brush work to outline the door. In hindsight, I ought to have taken some shots along the way, but I had a good flow and didn’t want to interrupt it for photographs. I know, that’s a blogger’s duty, but at the time I did not care. It was too fun.
I started by spraying Vallejo black wash in a random pattern all over it, and quickly dabbing away almost all of it with a paper towel. Using the same wash and a very low pressure I also did some soft and subtle shading in the recesses, to emphasise the shape of the body and the bed. I then repeated the process using Vallejo light rust wash, again wiping off most of it. This created random graduations, and added a hint of color to the gray. Next step was to apply Vallejo rust effects using a very small sponge, concentrating on the lower parts of the body, where the metal would be most worn. Vallejo rust effects has a nice texture to it, and I built it up in layers to create different amounts of wear and tear. Finally, I applied lots of layers of Vallejo light rust over the rust texture, slowly building up the orange rust color.
Lots of fun, and pretty cool to change its appearance completely using airbrush and a couple of acrylic paints. I was curious to see whether it was possibly at all, and most happy with the result!
To check out the progress the last couple of weeks, hit the link!

