Modding The Helion Dominus Part 4 – Installing A Brushless System
No other single modification will give your Dominus such a dramatic increase in shear power as the installation of a brushless power system. Today I’ll be walking you through what it takes to install a brushless motor and speed controller in your Helion Dominus. If you are an old pro you can do this in your sleep but if you are new to the hobby I hope these instructions help you out.
By: Tim Mohr
Removal of stock equipment–
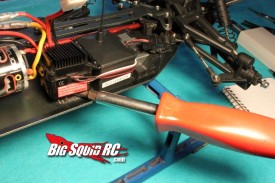
1. Use a straight slot screwdriver to pry off the stock on/off switch.
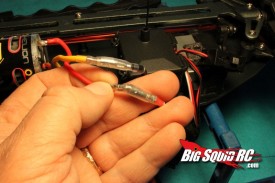
2. Unplug the 2 wires that go from the stock speed controller to the stock motor. Just pull with your fingers, they come right apart.
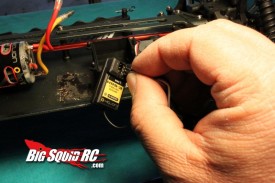
3. Pull off the two body clips that hold the lid on the receiver box, then pull out the speed control wire plug from the receiver.
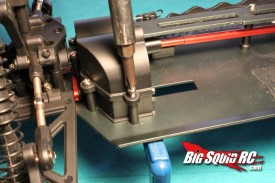
4. Two 2.5 mm screws are used to hold the motor plate on, you’ll want to remove the top one and loosen the screw on the bottom. Remove motor plate with motor attached.
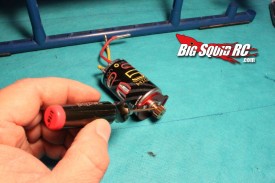
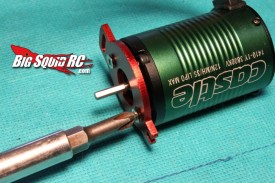
5. Remove pinion gear from the motor by using a 1/16″ hex wrench to loosen the pinions grub screw.
6. Remove the two phillips head screws that secure the stock brushed motor to the motor plate.
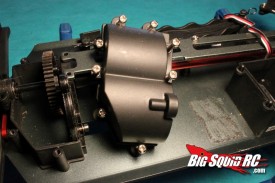
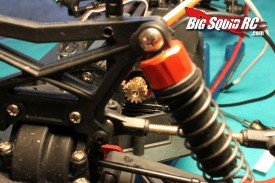
7. Take off the spur gear cover by removing 8 phillips head screws. We are removing this to aid in setting the pinion/spur gear mesh later in the install.
Installation of new equipment–
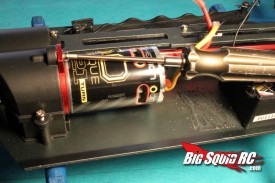
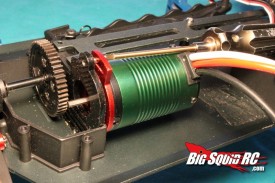
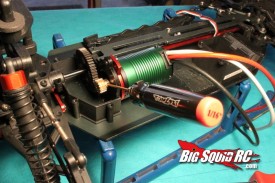
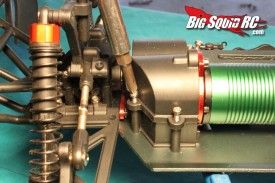
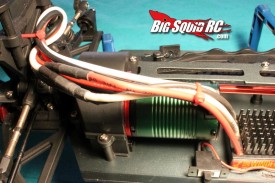
8. Re-install the two phillips head screws to secure your new brushless motor to the motor plate. Take care at which way the wires on the motor are pointing, you’ll most likely want your motor wires pointing upwards when the motor is installed in the truck.
9. Install motor plate back onto the truck. Snug, but do not competely tightening the two 2.5 mm screws that attach the motor plate. We are leaving these loose for the moment so we can adjust gear mesh.
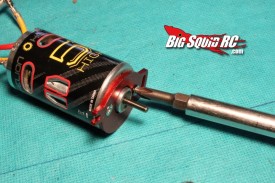
10. Mount pinion gear to your brushless motor. Take care to line up the pinions grub screw with the flat spot on your motors output shaft. Also, the stock pinion uses a 1/8″ bore, if you intend on re-using it make sure the motor you are installing has a 1/8″ output shaft.
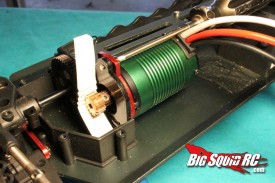
11. Set the pinion/spur gear mesh then tighten the two 2.5 mm screws that secure the motor plate to the truck. I use the paper method to ensure gear mesh is not too tight. Because we removed the spur gear cover you can look from the rear of the truck towards the pinion/spur to visually inspect the gear mesh. If the gear mesh is too loose you may blow a spur gear, if it’s too tight you’ll get poor run-times, excessive temperatures, and your truck will feel slow.
12. Re-install spur gear cover via 8 phillips head screws.
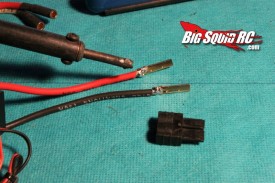
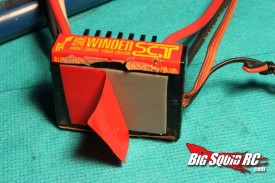
13. Solder battery connector on speed controller if necessary.
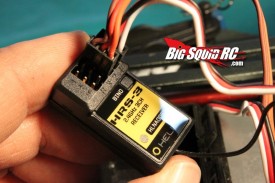
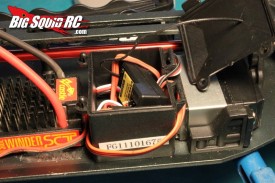
14. Insert the signal wires from your new speed controller into the receiver. The negative wire goes towards the outside of the receiver and make sure you insert the plug in the channel #2 slot of the receiver.
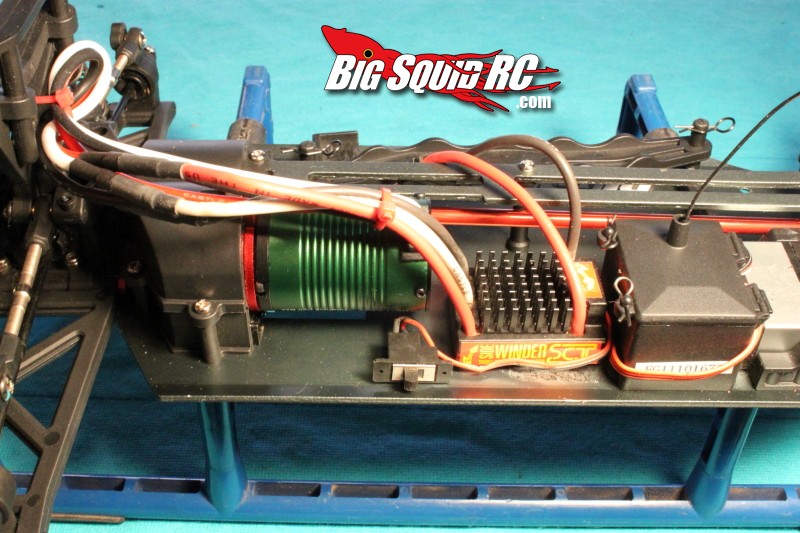
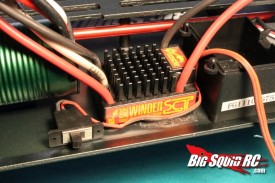
15. Use double sided tape to mount your new speed controller and switch to the chassis.
16. Tidy up wires running to receiver box with zip ties then re-install receiver box lid.
17. Connect the 3 large wires from your new brushless motor to the speed controller. Make sure all wires are zip tied out of harms way, notably away from the center drive-shaft.
18. Calibrate your new speed controller to your transmitter.
19. You are all done and ready to rip!
a href=”https://www.bigsquidrc.com/wp-content/uploads/2012/06/domin23.jpg”>