Monster Truck Madness – My First Airbrush Job
Hello everyone. I have started to attempt my first ever r/c airbrush job, and I’d like to share with you all how it’s going.
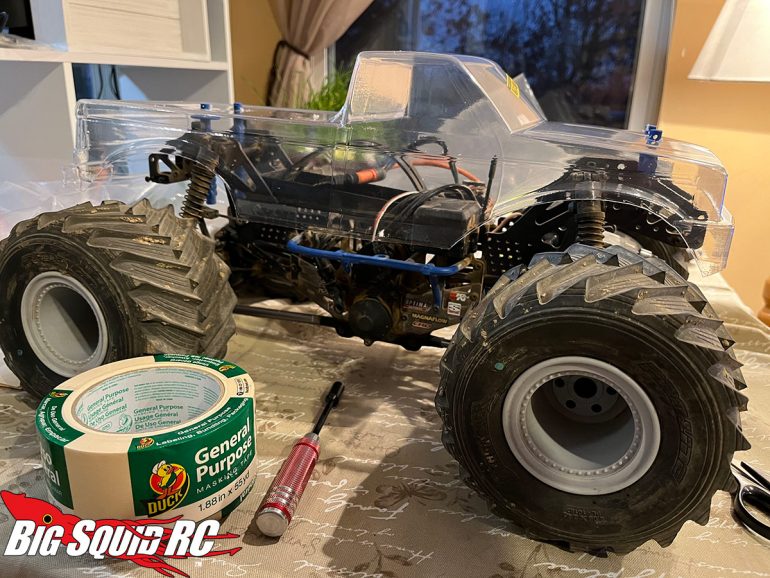
I am painting a JConcepts ’89 Ford for my Losi LMT. I started by doing all of the normal stuff- trimming the body, reaming the holes and mounting it BEFORE paint, and then giving it a wash with warm water, Dawn soap and then drying it off with a lint free towel.
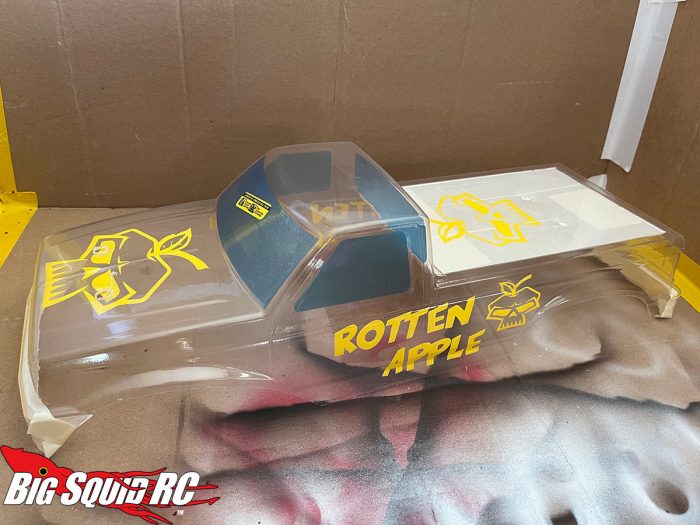
I had masks done for me by my friend Bob C. on a vinyl plotter. Once they were in place, I masked the rest of the body.
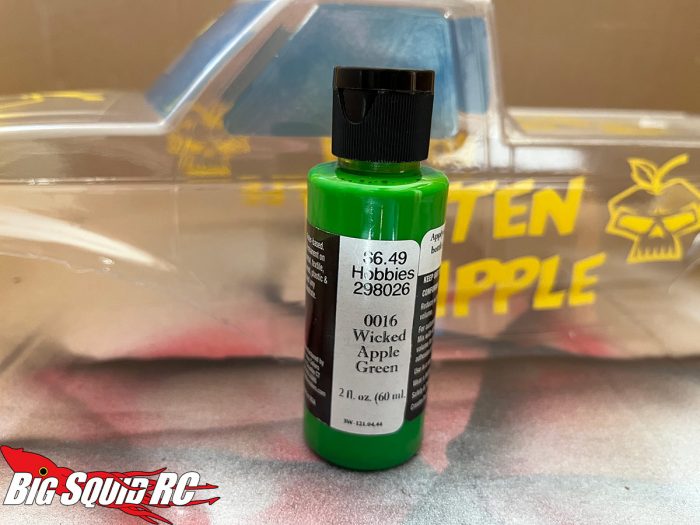
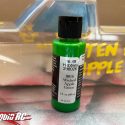
The main paint I used was Createx Wicked Apple Green- a color that was very fitting!
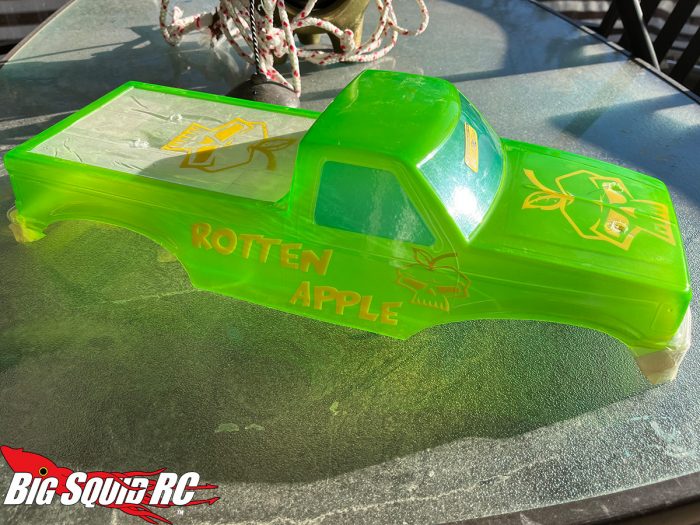
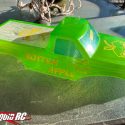
I started applying very thin coats of green. It was going well!
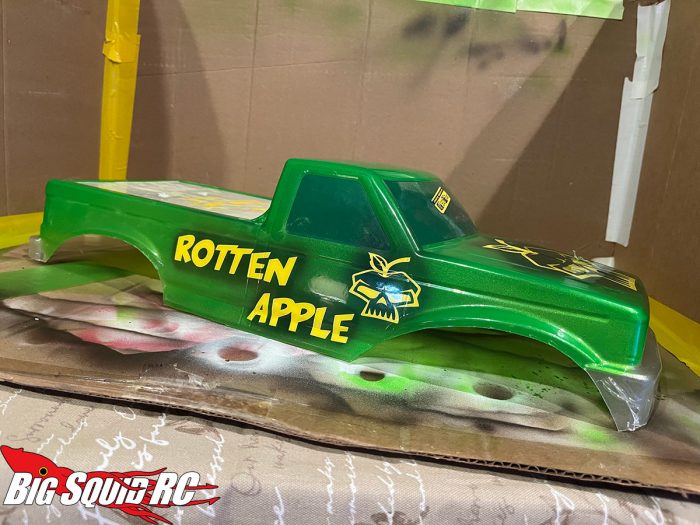
You can see here that the green was applied, but very translucent. All of my friends who are experienced airbrush painters told me that you really need to back every single color to make sure it displays properly, so that’s what I did. I did a light backing in metallic silver (I shot the bumpers in this), and then tried some pearl black shading around the letters, before backing the entire thing in white.
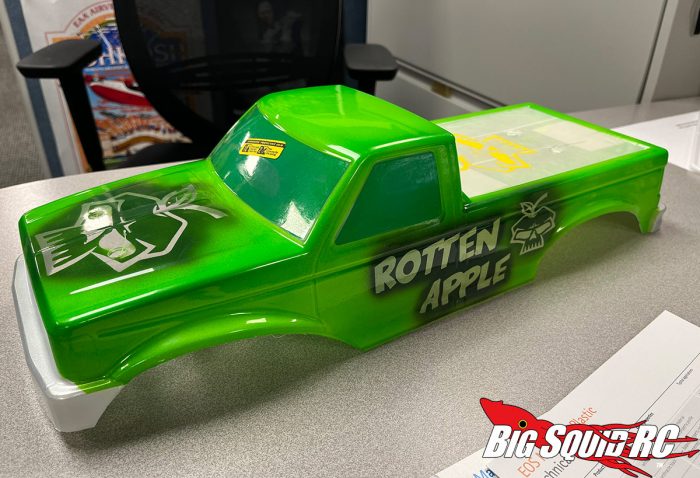
You can see now, the colors all have come together. Really cool!
There’s one thing I should mention here, though. I was having problems with my gun clogging, and I thought it was the airbrush. I kept disassembling my brush, only to have it do it again. I wound up thinning the water based paint slightly with water, and this let the gun flow freely again. So if you get into airbrushing just remember that even if you are using paint that you don’t think needs thinning….it may still need thinning!
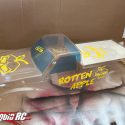
I took the masks off the lettering and logos, cleaning up some of the tiny run areas with a q-tip soaked in rubbing alcohol, and it cleaned it up really nicely.
I’ll be finishing it up in next week’s article, but I’m very excited with how it’s coming out! I can’t believe I’ve waited this many years to go into airbrushing!
Until next week, keep it on all 4’s!

