The Backyard – Rotten Apple Axial SCX6 Honcho
Hey everyone and Happy Friday!
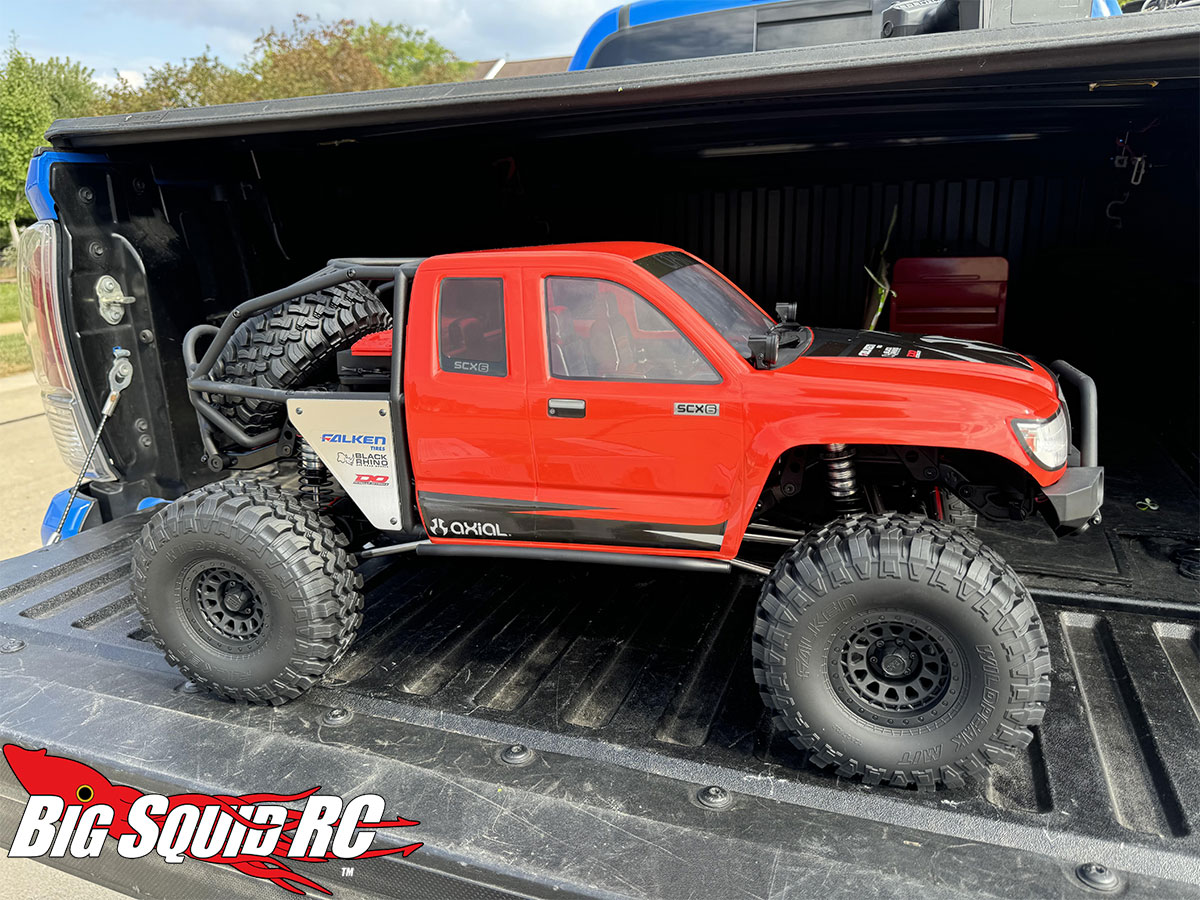
This week I wanted to share the project I’ve been spending the last couple months on. I finally took the plunge into large scale r/c with an Axial SCX6 Honcho!
This is something I had been wanting to do ever since the Honcho version of the SCX6 was announced. Despite being involved in the hobby for over 30 years now, I’ve never owned something that I’d consider large scale.
It’s also been awhile since I’ve picked up a truck with the plans to mod it to the gills. The SCX6 seemed like a prime platform to do this with, as the sheer size of it alone makes it a showstopper, and that’s before customizing it!
Before any of that, I had to take it out at least once in totally stock trim.
This was for several reasons. For starters, given I have big time mod plans, I wanted to see what it was like in stock form first to have a comparison baseline. The second is that I wanted to make sure I REALLY liked the truck and larger scale driving experience before dropping the coin on additional goodies for it.
Good news- the Axial SCX6 is a freakin’ joy to drive. The weight and size of the vehicle make for a drastically different driving experience than a 1/10 or 1/8. I have a lot to say about this, and I’ll do that in a separate write-up soon! For now, let’s talk about the mods I decided to make post-first run
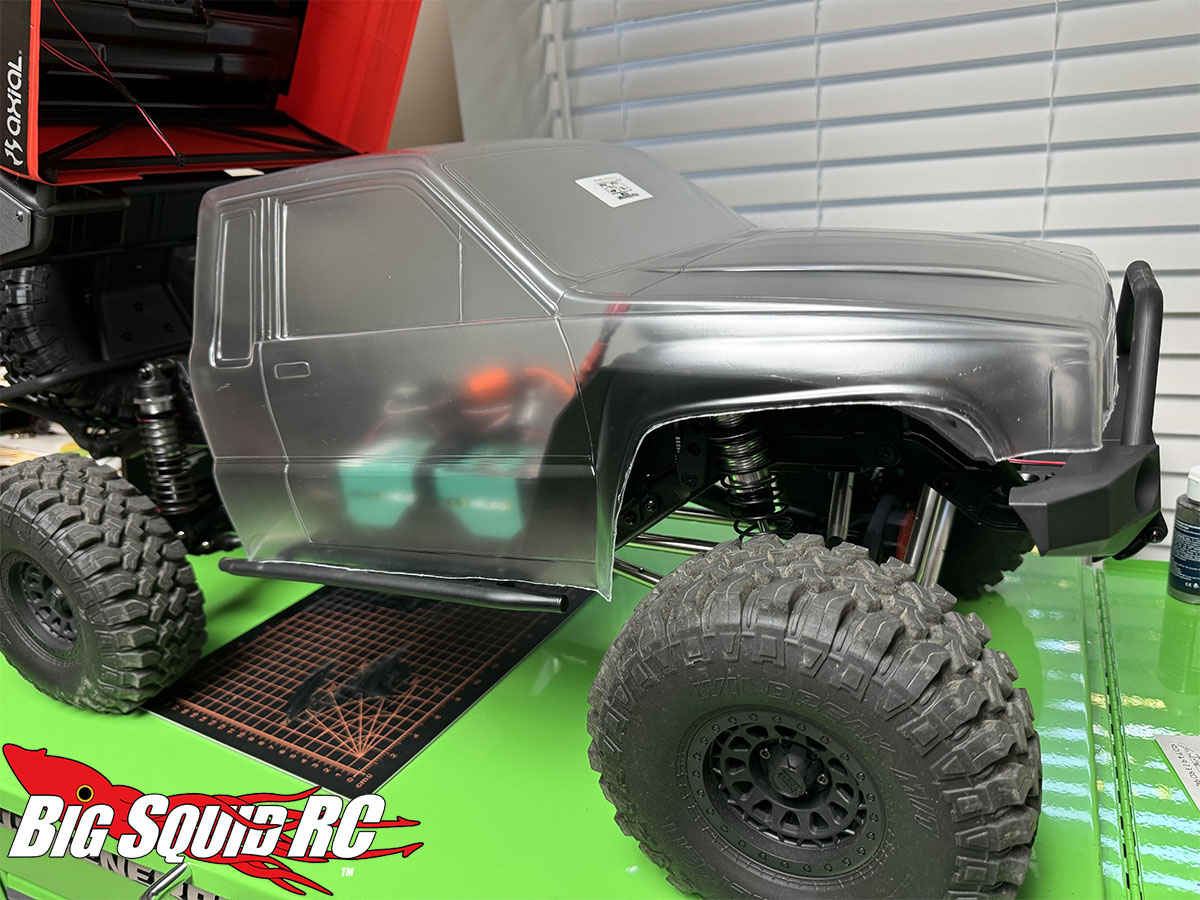
I knew that when I ordered the Honcho, I wanted to do my own body for it immediately. My 1:1 truck is a (my beloved) Toyota Tacoma, so I knew I was going to stick with either another clear stock Honcho body (which is based on the Tacoma) or a Pro-Line 85 Toyota Hilux SR5. I ultimately decided on the old school Toyota, because I thought it would look more striking with the rear cage.
The only potential issue I saw is that I thought I’d have to lose both the inner fenders and interior that the Honcho uses, and because of that I was on the fence. After some poking around in some Facebook groups, I discovered that this isn’t the case. With some slight modifications you can indeed use both!


Here are some photos. You can see how the inner fenders look after trimming. No, they don’t line up perfectly, but it doesn’t really matter once the body is painted. The stock interior also fits, you just have to trim the front of it some when mounting, and after paint it will look fine.
I also used the external spotlights that come with the stock honcho. They are easy to mount on the new body. I DID NOT use the stock headlights/grill, which is kind of a bummer….but dems da breaks. It’s rare I’m ever running at night these days, so it’s a sacrifice I didn’t mind making.
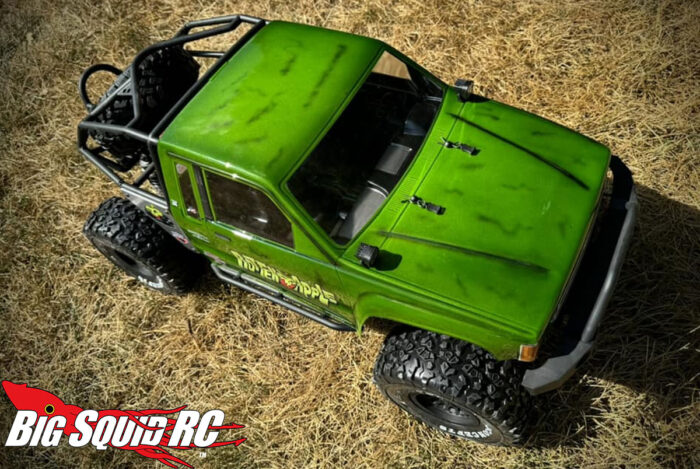
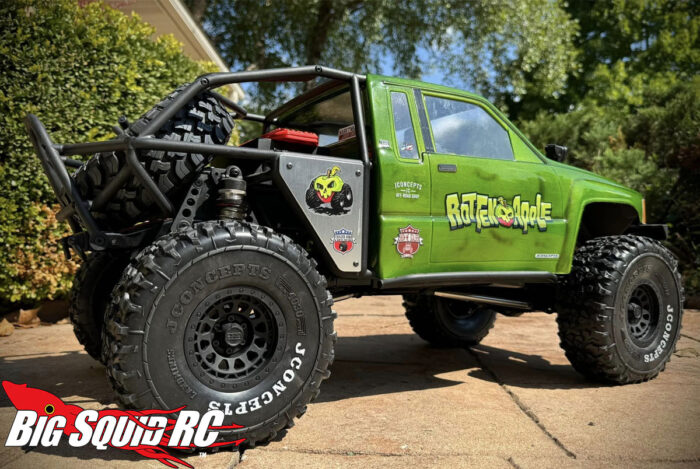
For paint, I wanted to apply my personal Rotten Apple scheme. Painting the gigantic cab was relatively uneventful, but be aware that you will use A LOT of paint – there is just a lot of surface area!
While the truck was down for paint, I decided to ditch the stock tires (which are pretty good!) for a set of JConcepts Landmine tires. Me being a classy guy, I decided to paint the raised JCONCEPTS lettering in white. Seriously though, another bonus of the massive size of the vehicle is that painting raised tire lettering is cake compared to 1/10 scale!
Here she is. My Rotten Apple SCX6. She’s a real beaut, Clark. I’m thrilled with how this turned out.

Next up, time for some machined wheels and dual stage foams! Whenever I finish that upgrade, I’ll do a detailed write-up on my thoughts on the SCX6 and large-scale scaling. Until next time, keep it on all 4’s!